
UVtools Download: Check, Repair and Convert Resin Print Files
The free tool that finds the problems in a sliced resin file before they ruin a print, checked live against the official GitHub releases
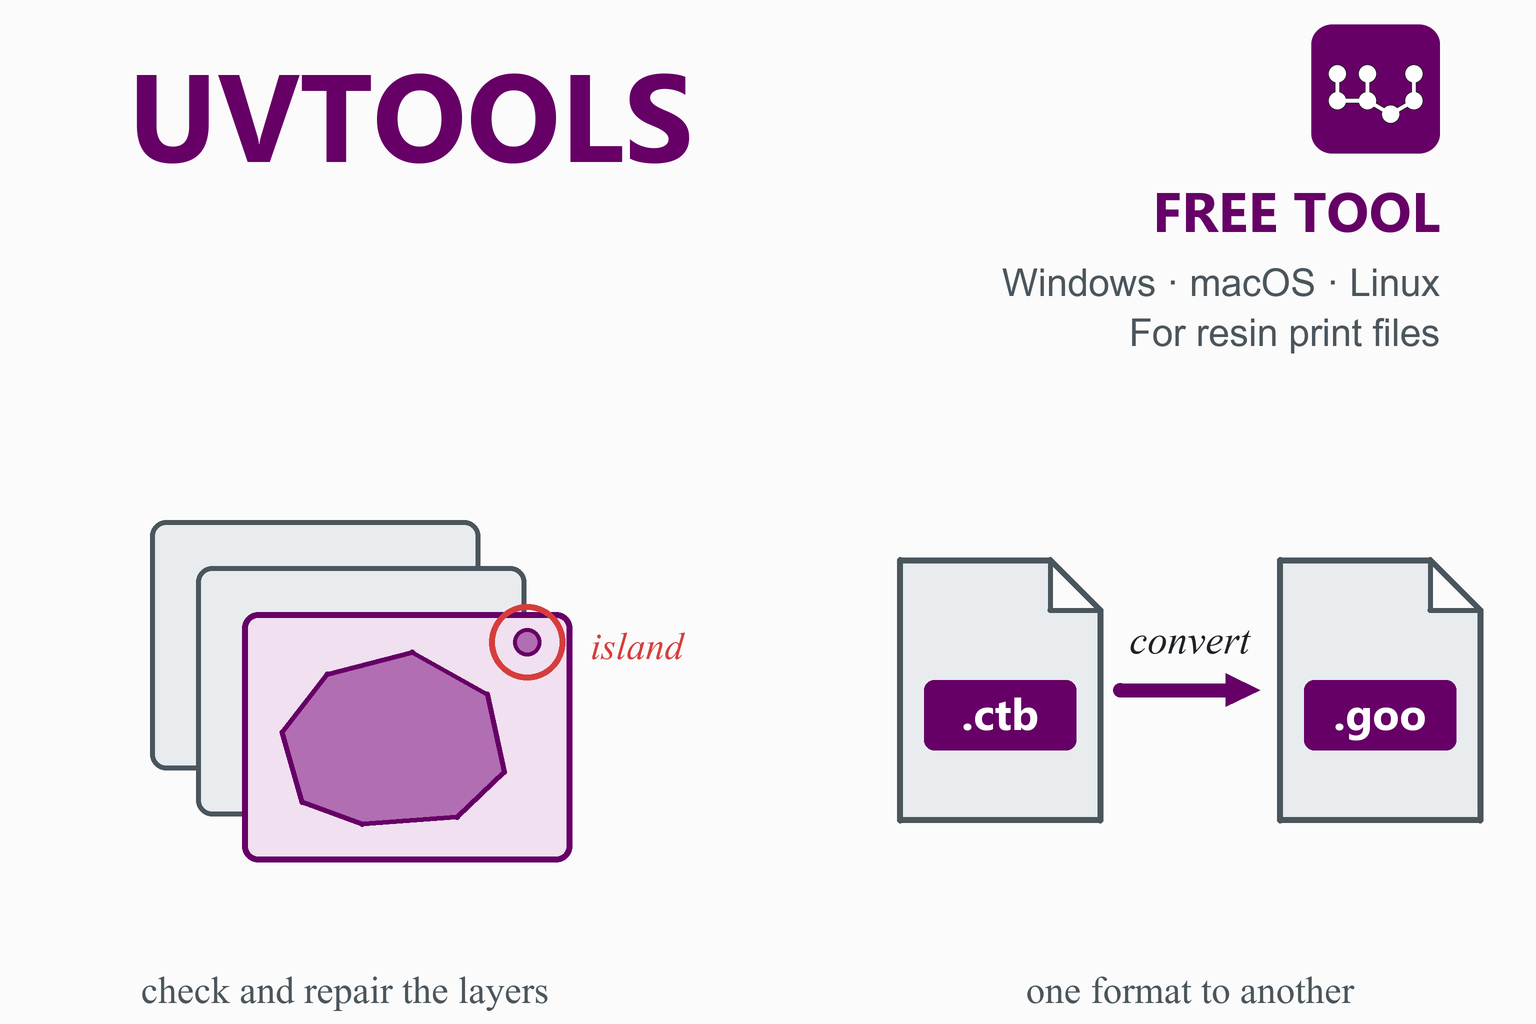
A resin printer does not print an STL; it prints a stack of images, one for each layer, stored in a file whose format depends on the printer. UVtools opens those sliced files, shows them layer by layer, finds the faults that cause failed prints (floating islands, resin traps, suction cups, layers touching the edge of the plate), repairs most of them, converts the file to another printer’s format, and includes calibration tests for exposure, accuracy and elephant’s foot. This page checks GitHub when you open it and offers the newest stable build for Windows, macOS and Linux, with file sizes and SHA-256 checksums, and then walks through the workflow that the project recommends.
Download UVtools
The UVtools project’s own instructions point to this page for the newest version.
Previous versions
Loading the release list…
How this download box works
- It is live. Each visit asks GitHub for the newest stable release of the official UVtools project, so you are never sent to an outdated file. Your browser keeps the answer for ten minutes; the Refresh button asks again straight away.
- UVtools is updated often. The project has published several releases in a few weeks, so a live box matters more here than for most programs.
- Every link goes to GitHub. The script only accepts download addresses on the official project’s release path. If GitHub cannot be reached, the box falls back to a link to the newest release.
- Which package? The big button picks the installer for your system. The .zip and .AppImage files are the portable versions that need no installation; the .deb, .rpm and Arch packages install through your Linux package manager.
Other ways to install, from the project’s README
The README lists package-manager installs for Windows and an installer script for Linux and macOS. Commands are shown here exactly as the README gives them. A script that you download and run has the same rights as you do, so read it first (it is on the project’s GitHub page) if you prefer.
Windows (Winget or Chocolatey)
winget install -e --id PTRTECH.UVtools
choco install -y uvtools
Linux and macOS (auto-install script)
bash -c "$(curl -fsSL https://raw.githubusercontent.com/sn4k3/UVtools/master/Scripts/install-uvtools.sh)"The README says the same script can install an older version if you add its number at the end, and for macOS it recommends this installer.
Check the SHA-256 checksum
A checksum is a fingerprint of the file. If the fingerprint of your download matches the one shown in the box above, the file is exactly what was published. Replace the file name with yours.
Windows (PowerShell)
Get-FileHash .\UVtools_win-x64_v7.1.0.msi -Algorithm SHA256macOS (Terminal)
shasum -a 256 UVtools_osx-arm64_v7.1.0.zipLinux (terminal)
sha256sum UVtools_linux-x64_v7.1.0.AppImageThe file names above are examples from version 7.1.0; use the name of the file you downloaded.
What Is UVtools?
The project describes UVtools as a tool for MSLA and DLP resin printers: file analysis, calibration, repair, conversion and manipulation. It is free, open-source software (GitHub lists the licence as AGPL-3.0), started by an individual developer (sn4k3 on GitHub), and it works on the sliced file, not on the 3D model. You slice in your usual resin slicer, open the result in UVtools, check it, fix it, and send it to the printer. It does not replace a slicer; the README describes how to use it with PrusaSlicer, whose SL1 files it can convert into your printer’s own format, and the project provides printer profiles for that.
View
Scroll through the file layer by layer, view and edit the thumbnails and every setting that was stored in the file, and extract layers.
Detect
Find islands, overhangs, resin traps, suction cups, layers that touch the plate boundary, print-height problems and empty layers.
Repair
Fix many of those problems automatically, apply suggested corrections and use tools to mutate, filter and edit layers.
Convert
Turn a file from one printer format into another, so you can use a slicer your printer does not officially support.
Use the advanced tools with care. The README warns that experimental functions should be used with care, and the wiki has a page on which printers support the per-layer settings and advanced tools. For most people the detect, repair and suggestions steps are all that is needed.
Supported File Formats
The README lists more than fifty file extensions. These are the main groups, with the software or printer family the README associates with them:
| Extensions | Named in the README as |
|---|---|
| CTB, CBDDLP, PHZ, FDG, Photon, Photons | Chitubox formats (the README writes “ThickBox”) |
| PWS, PW0, PWMX, PWMB, PWSZ, PM3, PM4U, PM7 and many more | Photon Workshop (Anycubic) |
| GOO | Elegoo |
| CXDLP, CXDLPV4 | Creality Box |
| SL1, SL1S | PrusaSlicer |
| PRZ | Phrozen (Sonic Mini 8K S) |
| LGS, LGS30, LGS120, LGS4K | Longer Orange printers |
| CWS, XML.CWS, ZCode, ZCodex, MDLP, GR1, JXS, QDT, VDT and others | Other slicers and printers (NovaMaker, Wanhao Workshop, UnitMaker, Z-Suite, Makerbase, GR1 Workshop, GKone, Emake3D, Voxeldance) |
| OSLA, OSF, VLR, UVJ, NanoDLP and generic ZIP | Open and vendor-neutral formats, including a Klipper ZIP |
| png, jpg, bmp, tif and other images | Image files |
Support for a format does not mean every feature works with every printer. Check the project’s list of known formats on GitHub for the current, complete list.
System Requirements
| System | Requirement (from the README) |
|---|---|
| Windows | Windows 10 or later, 64-bit; 8 GB of memory or more plus 512 MB per CPU core; a screen of at least 1920 × 1080 at 100% scale. On Windows 10 or 11 N and NK editions, the Media Feature Pack must be installed. |
| macOS | macOS 13 Monterey or later; 8 GB of memory or more plus 512 MB per CPU core. The README recommends installing with its auto-installer. |
| Linux | A 64-bit system with 8 GB of memory or more plus 512 MB per CPU core and a 1920 × 1080 screen. The README gives a script for installing the dependencies if the installer did not find them, and says to give a downloaded .AppImage permission to run. |
Install and Open a File
- Download or install with one of the methods above. The .zip and .AppImage packages need no installation: extract the archive, or give the AppImage permission to run, and start it. On Linux you can also double-click the UVtools file, or run
./UVtoolsfrom a terminal. - Open your sliced file. The README lists the ways: File, Open (Ctrl + O), drag and drop the file into the window, drag it onto the program, or make UVtools the default program for your file type.
- Look at it. The file opens at its first layer; scroll through the layers and check the thumbnails and the settings stored in the file, such as layer height and exposure times.
Check and Repair a File, Step by Step
The UVtools wiki says that most of the time you only need to check the file to make sure there are no errors that leave uncured resin in the vat. This is the project’s own recommended order:
- Find the issues. Click the issues icon on the toolbar (the wiki calls it the yellow wheel, the third icon). If auto-detect is on the issues are computed the first time you click it; otherwise press the Detect button.
- Empty layers. Scroll the list for empty-layer issues. If an empty layer lies in the middle of the model, go back to the slicer and see what happened at that height; otherwise the repair step removes empty layers.
- Resin traps. If you did not hollow the model, skip this; the repair step deals with them. If you hollowed it, check that you did not forget a drain hole: add one in the slicer, or with the pixel editor if it can go in vertically over the model.
- Touching bounds. These are printable pixels that touch the plate boundary or print area. A raft or waste object can be ignored. If space is spare, use Tools, Move and Apply to centre the object; if not, shrink it with Tools, Resize, or erode a raft with Tools, Morph.
- Repair. Press the Repair button; the defaults are fine for most users. It removes empty layers, closes resin traps (if selected) and smooths stray pixels.
- Islands and overhangs after the repair. The issues are recomputed. A false-positive island can be ignored; a single useless pixel can be deleted; a real island or overhang needs a support, which you can add in the pixel editor, or you go back to the slicer if the island is large. Overhang markers show where supports are most useful.
- Check again until the list is clear, then open the Suggestions tab, select the suggestions you want and press Apply. The wiki calls them safe and recommended.
- Raft relief and elephant’s foot. With a solid raft, Tools, Raft relief adds vent holes to cut suction and save resin. If you print directly on the plate, Morph, Erode or pixel dimming offsets the elephant’s foot; this needs a test for each printer, resin and exposure combination.
- Save the file (use “Save as” to keep the original) and send it to the printer.
The suggestions cover layer height, bottom layer count, wait times before and after the cure, the number of transition layers and the model position, according to the README.
Convert a File to Another Format
Most resin printers accept only one file format. If the slicer made for your printer is poor, you can slice in another one, export a format that slicer supports and let UVtools convert it. The wiki compares it to converting a JPG to a PNG.
- Open the sliced file in UVtools.
- File, Convert, then the target format.
- Open the converted file to check it, then copy it to the printer’s USB stick.
The wiki explains what happens inside: an empty file of the target format is created, filled with every setting that the source file had (UVtools calculates what is missing when it can), the preview images are rescaled to the target standard, the layer images are copied over, and the file is encoded. A conversion changes the container, so the print settings must still suit your printer and resin.
Calibration Tests
UVtools can generate test files for the most common resin-printing problems. The wiki has a guide for each:
- Resin time finder: prints small features that fail on purpose, so you can see whether your exposure time is too short or too long.
- XYZ accuracy: checks that a printed object matches the designed size in each axis. The wiki lists the causes of error: wrong resolution or display size, exposure times, bad resin, expansion of resin in large masses, and the fact that pixels cannot be split.
- Elephant’s foot: helps find how much to offset the bottom layers when they print wider than the rest.
A test file overwrites the file it is made from, so start from a dummy file or use “Save as”. The resin time finder leaves floating bits of cured resin in the vat, which the wiki says to remove with a plastic spatula after every test, and to scrape the FEP film too.
Command Line
Besides the graphical program, the package includes UVtoolsCmd, a console tool. The README lists commands such as convert (change format), extract (write the contents to a folder), print-issues (detect and print the issues), print-properties, compare (compare two files), set-properties and run (run operations or scripts). Add -? to a command to see its help. This lets you convert or check many files from a script.
Frequently Asked Questions
What is UVtools?
UVtools is free, open-source software for MSLA and DLP resin 3D printers. It opens the sliced file that a resin printer prints, shows it layer by layer, detects problems such as islands, resin traps and suction cups, repairs many of them, converts the file between printer formats, and generates calibration tests. It works on the sliced file, not on the 3D model.
Is UVtools free?
Yes. UVtools is open source, with its code on GitHub under the AGPL-3.0 licence, and the program is a free download from the project’s releases page.
Is UVtools safe to download?
The download box on this page links only to files on the official UVtools project on GitHub, and the README sends users to the same releases page. To confirm your copy, compare its SHA-256 checksum with the one shown in the box. The auto-install script and package-manager commands in the README come from the project as well; as with any script, you can read it before running it.
Do I need UVtools to print resin?
No. Your slicer can produce a file your printer prints without it. UVtools is useful as a safety check, because it finds faults that lead to failed prints and uncured resin in the vat, as a repair tool, and for converting files when the slicer you like does not export your printer’s format.
Which file formats does UVtools support?
More than fifty extensions are listed in the README, among them the Chitubox formats (CTB, CBDDLP, PHZ, FDG), the Photon Workshop formats of Anycubic (PWS, PWMX, PWMB, PWSZ and many others), Elegoo GOO, Creality CXDLP, PrusaSlicer SL1, Phrozen PRZ, Longer LGS files, the open OSLA format, NanoDLP and generic ZIP files. Check the project’s list for the current set.
Can UVtools slice an STL file?
No. UVtools does not slice models. You slice in a resin slicer and open the resulting file in UVtools. The README describes using PrusaSlicer for slicing and UVtools to convert its SL1 output into the format of your printer.
How do I fix islands and resin traps in UVtools?
Open the file, run the issue detection, and press Repair: by default it removes empty layers, closes resin traps and smooths stray pixels. For islands the wiki suggests ignoring false positives, deleting a few useless pixels, or adding supports in the pixel editor; for a large island, or for resin traps in a hollowed model that lack drain holes, go back to the slicer.
How do I convert a file to another printer format?
Open the sliced file, choose File, then Convert, then the target format, and open the new file to check it. The print settings must still suit your printer and resin, because only the container and the data are converted.
What are the system requirements?
The README lists Windows 10 or later (64-bit), macOS 13 Monterey or later, or a 64-bit Linux system, all with 8 GB of memory or more plus 512 MB per CPU core, and a screen of at least 1920 × 1080 at 100% scale. On Windows N editions the Media Feature Pack is required.
How do I install UVtools on Linux?
Download the AppImage, .deb, .rpm, Arch package or .zip from the box above. An AppImage needs permission to run (make it executable), and the other packages install with your package manager. The README also provides an auto-install script and a script that installs the dependencies, and says the program can be started by double-clicking the UVtools file or running ./UVtools in its folder.